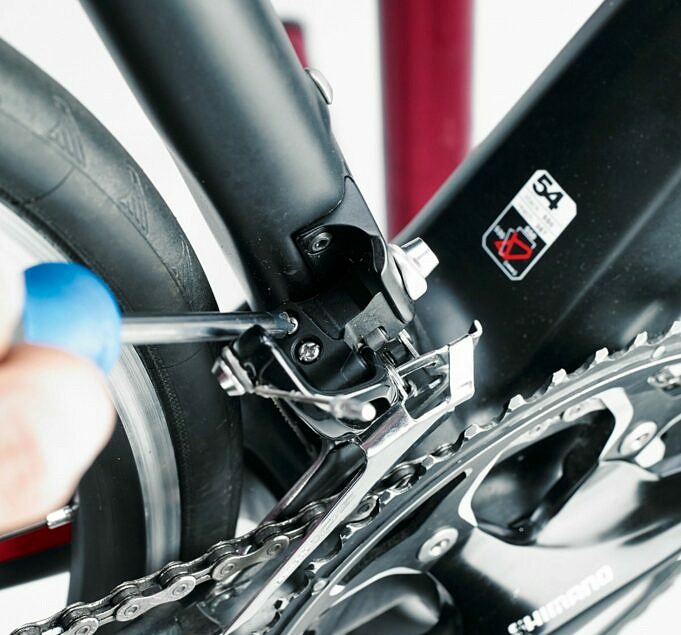
Do you ever look at your front derailleur and wish it worked better? You could stop that grinding sound if you only knew how to adjust it. After learning a few tips, tuning your front derailleur will be easy. These are the basics:
Step 1A: Attach the derailleur to the frame so that the outer cage is at least 1?3mm from the big rings teeth. Adjust the derailleur position by raising or decreasing the clamp. Step 1A is now complete.
Step 1-B: Place the chain in the middle of the ring and tension the cable until the derailleur cage is over the big ring. The cage’s outer plate should be flat and parallel to the ring.
Step 2: All new Shimano derailleurs come with a white, plastic pro-set that positions the cage to allow for Steps 1 through 2-A without any hand tension or cable. The labeling of the high and low adjustment screws is common.
Low stop: Move to the large cog or granny. Lower the front derailleur cable clamp. Turn the low adjustment screw until the clearance between derailleur cage innerplate and chain is 0/0.5mm.
Top adjustment: Turn the barrel adjuster of the shifters 1 turn out, then re-clamp your cable. Shift to the top cog and big ring. Adjust the high screw until the clearance between the outer plate of the chain guide and the chain is 0?0.5mm.
Shift to the large cog, and then onto the middle ring. The shifters barrel adjuster can be used to place the inner cage plate at 0?0.5mm distance from the chain. The cage can be moved outward by twisting the adjuster.
Forget Shimanos 0.0.5mm spec. We set the low stop to make sure the clearance between inner plate and chain is more generous at 1?2mm. Granny shifts will be much easier, and the derailleur will keep the chain railed.


